How to Set Up Google Analytics: A Step-by-Step Guide for Beginners
Discover how to harness the power of data with Google Analytics. Perfect for blogs, e-commerce, or corporate sites, this guide simplifies setting up Google Analytics, helping you understand your audience and enhance your site's performance.
#Introduction
Are you ready to unlock the power of data to grow your website? Google Analytics is your key to understanding your audience, optimizing your content, and boosting your online presence. Whether you're running a blog, an e-commerce store, or a corporate website, Google Analytics provides invaluable insights into how users interact with your site.
This guide will walk you through the entire process of setting up Google Analytics, from creating an account to installing the tracking code on your website. Whether you're a beginner or just need a refresher, this step-by-step guide will make the process simple and straightforward.
#Part 1: Understanding Google Analytics
#What is Google Analytics and Why Do You Need It?
Google Analytics is a free web analytics tool offered by Google that helps you track and analyze website traffic. It provides detailed insights into user behavior, traffic sources, and conversion metrics, enabling you to make data-driven decisions to improve your website's performance.
#The Role of Google Analytics in Website Management
Google Analytics plays a crucial role in website management by:
Tracking user interactions, such as page views, clicks, and conversions.
Identifying which marketing channels drive the most traffic.
Helping you understand your audience demographics and interests.
#Key Benefits of Using Google Analytics
Understanding Your Audience: Learn who your visitors are, where they come from, and what devices they use.
Tracking Website Performance: Monitor key metrics like bounce rate, session duration, and pages per session.
Optimizing Marketing Campaigns: Measure the effectiveness of your ads and campaigns to allocate your budget wisely.
#Common Use Cases for Google Analytics
E-commerce Tracking: Track sales, revenue, and product performance.
Content Performance Analysis: Identify which blog posts or pages resonate most with your audience.
Conversion Rate Optimization: Set up goals to track specific actions, such as form submissions or purchases.
#Part 2: Setting Up Google Analytics
#Step 1: Create a Google Analytics Account
#How to Sign Up for Google Analytics
Navigate to the Google Analytics website.
Sign in with your Google account. If you don’t have one, create a new account.
#Setting Up Your First Account
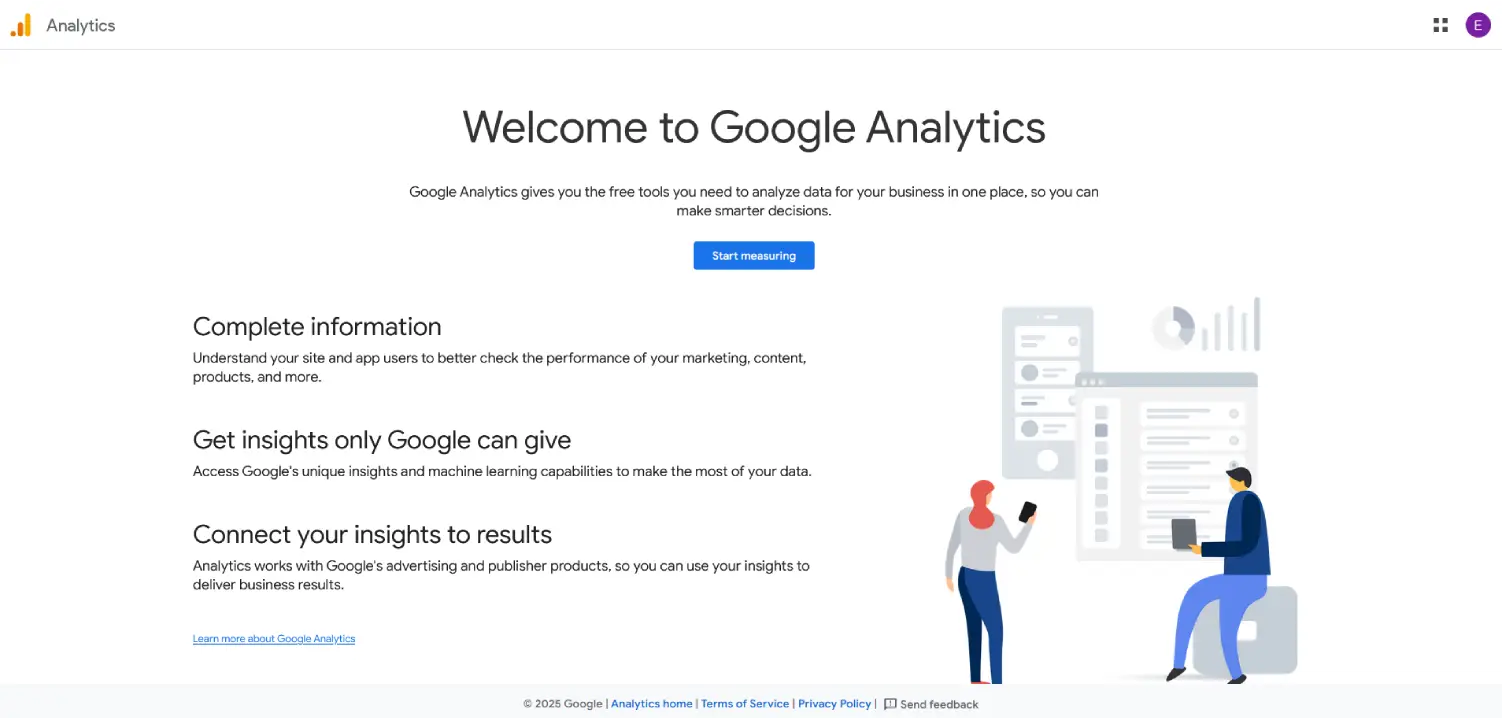
Click Start Measuring.
Enter an account name (e.g., your business name).
Configure data-sharing settings to control how your data is shared with Google.
Click Next.
#Step 2: Create a Google Analytics Property
#What is a Property in Google Analytics?
A property represents your website or app within your Google Analytics account. Each property has a unique tracking ID.
#How to Set Up a New Property
Enter a property name (e.g., "My Business Website").
Select your reporting time zone and currency.
Choose your industry category and business size.
Click Next.
#Understanding Property Settings
Time Zone Considerations: Ensure the time zone matches your business location to avoid discrepancies in reporting.
Currency Settings: Select the currency used for transactions on your website.
#Step 3: Add a Data Stream
#What is a Data Stream?
A data stream is a source of data, such as a website or app, that sends information to Google Analytics.
#Setting Up a Web Data Stream
Enter your website URL (e.g., "https://www.example.com").
Name your data stream (e.g., "Example Website").
Enable Enhanced Measurement to automatically track events like page views and clicks.
Click Create Stream.
#Setting Up App Data Streams (Optional)
For iOS or Android apps, enter the app name, bundle ID, and App Store ID. Follow the instructions to integrate the Google Analytics SDK.
#Part 3: Installing Google Analytics on Your Website
#Step 4: Install the Google Analytics Tracking Code
#Understanding the Tracking Code
The tracking code is a snippet of JavaScript that collects data from your website and sends it to Google Analytics.
#Manual Installation
Copy the tracking code from your Google Analytics account.
Paste it into the
<head>section of your website’s HTML.
#Using Google Tag Manager
Set up a Google Tag Manager account.
Add the Google Analytics tag and configure it with your tracking ID.
#Using WordPress Plugins
Install a plugin like MonsterInsights or Rank Math.
Connect your Google Analytics account through the plugin settings.
#Step 5: Verify Your Setup
#How to Check if Google Analytics is Working
Use the Real-Time Reports in Google Analytics to see live data.
Check the tracking status in Google Tag Manager.
#Troubleshooting Common Issues
Missing Data: Ensure the tracking code is correctly installed.
Double Tracking: Avoid adding the tracking code multiple times.
#Part 4: Navigating the Google Analytics Interface
#Understanding the Google Analytics Dashboard
#Overview of the Home Section
The Home section provides a snapshot of your website’s performance, including active users, traffic sources, and top pages.
#Exploring the Reports Section
Audience Reports: Learn about your visitors’ demographics, interests, and behavior.
Acquisition Reports: Identify which channels (e.g., organic search, social media) drive the most traffic.
Behavior Reports: Analyze how users interact with your content.
#Using the Explore Section for Advanced Analysis
Create custom reports and analyze user paths to uncover deeper insights.
#Setting Up Goals and Conversions
#What are Goals in Google Analytics?
Goals track specific actions, such as form submissions or purchases, to measure conversions.
#How to Set Up Goals
Go to Admin > Goals.
Choose a goal type (e.g., destination, duration, event).
Configure goal details, such as the destination URL.
#Tracking Conversions
Link your Google Ads account to Google Analytics to import conversion data and optimize your campaigns.
#Part 5: Advanced Tips and Best Practices
#Enhancing Your Google Analytics Setup
#Setting Up Filters
Exclude Internal Traffic: Prevent your team’s visits from skewing your data.
Filter Out Spam Referrals: Block fake traffic sources.
#Using Custom Dimensions and Metrics
Track additional data points, such as user roles or content categories, to create custom reports.
#Integrating with Other Tools
Google Search Console: Analyze search performance and identify keywords.
CRM Systems: Combine website data with customer relationship management tools.
#Best Practices for Using Google Analytics
Regularly Review Your Data: Monitor key metrics to identify trends and opportunities.
Set Up Alerts for Anomalies: Receive notifications for unusual traffic spikes or drops.
Keep Your Data Clean: Regularly audit your setup and remove unused properties.
#FAQs
#Q1: What is the difference between Universal Analytics and GA4?
A1: Universal Analytics is the older version of Google Analytics, while GA4 is the latest version with more advanced features like event-based tracking and cross-platform analysis.
#Q2: Can I use Google Analytics for free?
A2: Yes, Google Analytics offers a free version that provides comprehensive data for most small to medium-sized websites.
#Q3: How do I know if my Google Analytics is set up correctly?
A3: You can verify your setup by checking the Real-Time reports in Google Analytics or using tools like Google Tag Assistant.
#Q4: What are the benefits of using Google Tag Manager with Google Analytics?
A4: Google Tag Manager simplifies the process of managing and deploying tracking codes, making it easier to update and maintain your analytics setup.
#Recommended External Links
Google Analytics Help Center - "Official Google Analytics Help Center"
Google Tag Manager Setup Guide - "How to Set Up Google Tag Manager"
MonsterInsights Plugin for WordPress - "MonsterInsights: The Best Google Analytics Plugin for WordPress"
By following this guide, you’ll not only set up Google Analytics but also gain the knowledge to use it effectively. Start harnessing the power of data today!
Written by Ahmed Oubadi
CEO